
Yesterday my tattered floral die finally arived and since there was still time for the tattered foral challenge over at Tim Holtz's blog, I thought I might enter into the challenge. While simultaniously getting some experience in making and working with the flowers.
So here's my entry for the challenge

I had a little tin box for pens, that used to belong to my kids. It had some cartoon figures printed on it, so I alcohol inked it black. I started by making some fabric florals with the die and coloured them with some distress stains and some red velvet glimmer mist and hung them upside down to dry. I then gathered some laces that I thought would be nice and layed out everything to play a bit with the design.

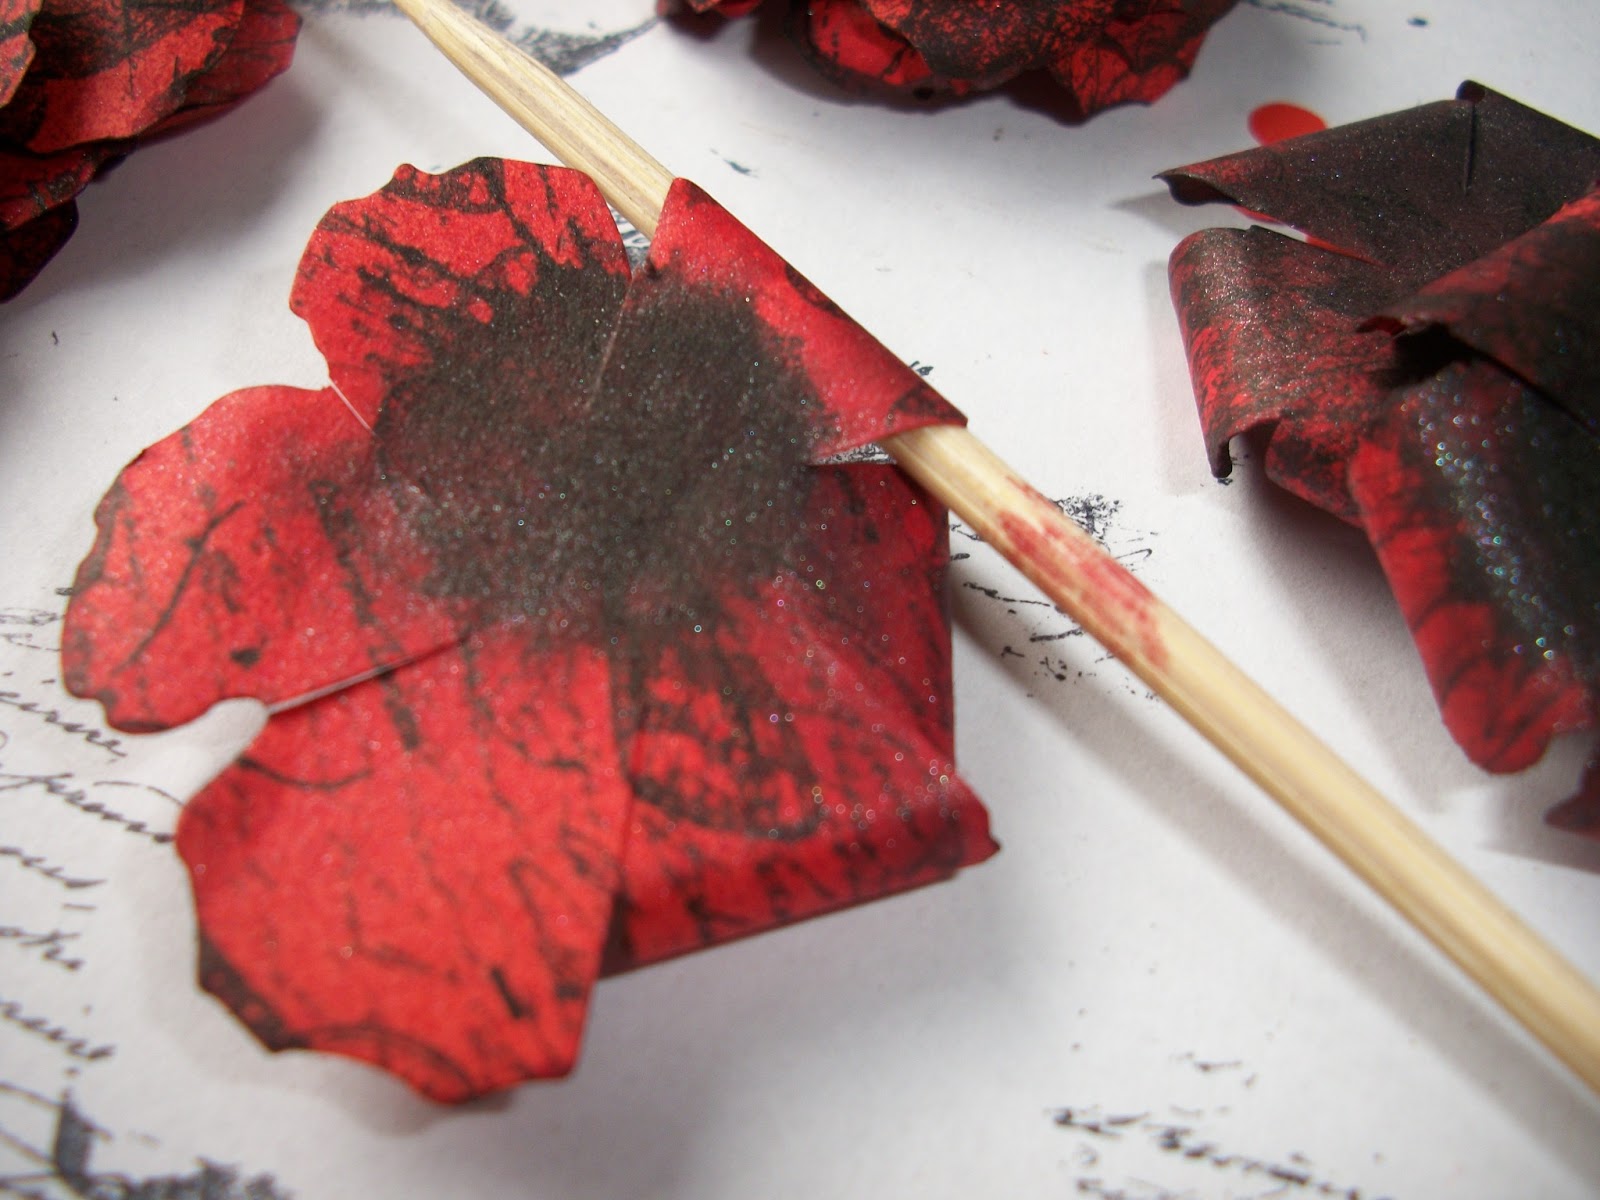
The paper flowers on the right were also made with the tattered florals die. I did feel there needed to be more flowers in the design, so I started making a bunch. Cutting them with the die is very easy, it slices through several layers without any difficulty.

That's a lot of flowers, well at least I thought they were. I dabbed some black soot distress stain in the center and sprayed them with red velvet glimmer mist.

I then stamped my new butterflies and a tiny script stamp randomly on top of the flowers

I like what was left behind after removing the flowers.

Now it was time to assemble the flowers. I cut the petals of the biggest florals a bit and then curled the petals backward and glued three of those together.
The petals on the smaller flowers I curled upward toward the heart of the flower and also glued three of them together. I applied pressure to the middle of the assembled sets with a rounded pen to form a cup shape.
I then glued them together and once again applied pressure with a round pen.

I now had a pile of flowers and I could continue to the next step, wich in my case involves making a huge mess....


So on to the next step, assembling it all and playing around, altering things as needed. Getting really dirty fingers from the alcohol ink and, plainly, just having a ball.
So here are some pictures, taken after I decided I had to stop...I think I put enough on there =).


So yeah, finished in the nick of time, I guess. I love how it turned out and I love the flowers. The box will be a gift for my daughter and I think (hope) she will like her little pandora's box, she can keep her trinkets in there.
I hope I didn't overload you with pictures, but I was so pleased with how it turned out, that I couldn't help myself. If you have any questions or comments, please leave them below.
I hope you enjoyed it as much as I did making it and I wil now go and scrub my fingers....bye
This is simply stunning!! I am enjoying visiting your wonderful blog!
ReplyDeleteThank you, Martina =)
Deletethank you, mum. I loooooovveee love love it!
ReplyDeleteYou're welcome, honey =)
DeleteSo sweet of you, dear Monique, to leave such motivating comments on my blog. And the good thing: That's how I found you and your inspiring blog. It was an urge for me to become your follower as there is so much to see here, so much to learn that I don't want to risk missing a post!
ReplyDeleteIn regard to your tattered florals, I hope to find more to see from it soon! Your "Pandora's Box" makes me curious to see more from it!
Greets, Manu
I see you already found the photo's. Thank you so much for your sweet comments, they made my day just a bit brighter =).
DeleteI too started following your blog, when I found it, because I find your creations beautifull and inspiring, thank you so much for sharing!
Monique xx
Oh my, how could I oversee that you have really showed plenty of pics of this little box! And your how-to is so inspiring! Thanks so much for sharing!
ReplyDeleteLovely lovely project!! I find this one a very useful die, I have also used it very successfully with clearly for art using a Wendy Vecchi technique - yum! Missed Tim's challenge I have been so busy this month but I will go and look at all the 700 entries at some stage! Thanks for following my blog, Cindy
ReplyDelete=) that's a lot of tattered florals, I must admit, I only visited about 10% of them...
DeleteYou made me curious about the "Wendy Vecchi" technique, so I will now go and google it =)
This comment has been removed by the author.
ReplyDeleteoh my oh my gosh - I was surfing on your Blog (to get some inspriation :-) and I found this project this is so totaly amazing I am just speakless WOW! such a lot of details and so much work - wow!
ReplyDeletexoxo SanDee